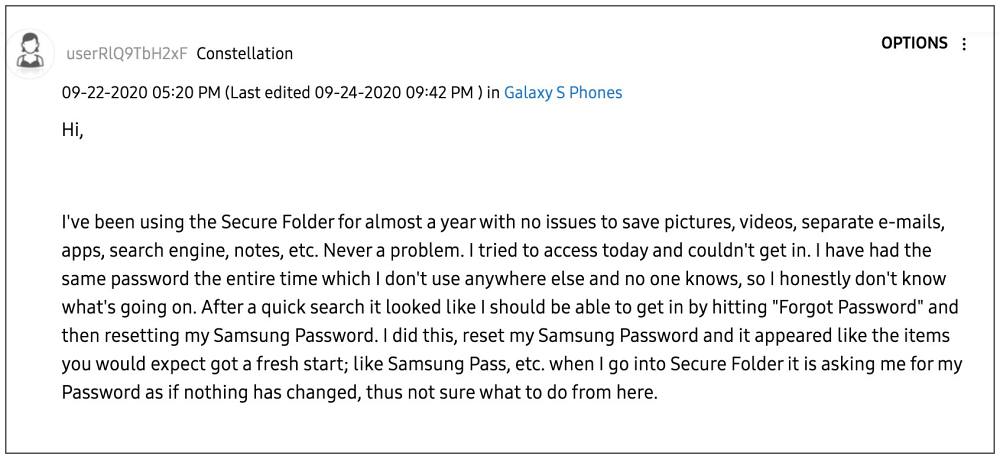
However, there have been a few issues surrounding this folder. Some Samsung users have forgotten the password of this Secure folder and hence are unable to access it. Others have said that they didn’t set up any recovery option in the first place and hence are now unable to reset the password or delete the secure folder. Likewise, some didn’t even link their Samsung account with this folder in the first place.
To make matter worse, even if you keep on entering the incorrect password over and over again, you will still not get the Forgot Password option. So this begs the all-important question: how could you access/delete/reset the Secure Folder on your Samsung device without knowing its password? Well, there does exist a nifty workaround that should help you get this job done. So without further ado, let’s check it out.
How to Access/Delete/Reset Samsung Secure Folder without Password
As risky as it may sound, when you are trying to access the Secure Folder and you get the Delete option, then just tap on it. This will not delete the contents of the Secure folder but will only remove the password from it. You will then be able to access the folder without any issues. To be fair, even I had a few doubts surrounding this workaround because losing all my personal and important documents was the last thing on my list. However, since I wasn’t able to access that folder via any other means, I decided to give it a shot, and fortunately, I was able to access all the contents of the secure folder. The only issue I had was with the sorting of the documents- some o the older documents were a the top whereas the newer ones were pushed to the bottom, however, this is nothing in comparison with what could have gotten wrong. So was I lucky or are there others users in the same boat with me? Well, it turns out I wasn’t the only one and infact a few users were able to access/delete/reset the Secure Folder on their Samsung device without a password simply by hitting the Delete button. You could check out their responses here- User 1, User 2, User 3, User 4, User 5.
With that said, it’s your data and the ultimate decision lies in your hand. If this would have been an official method then I would have recommended it without a second thought. But since we are dealing with a workaround that involves your personal data, I am not in a position to highly recommended this approach. But if you have exhausted all your other methods and are ready to give this a try, then count your starts and give it a shot right away! And once you do so, don’t forget to share the results with us in the comments section below. Fingers crossed!
sideActions not working on Samsung Android 13/One UI 5 [Fix]Downgrade Samsung One UI 5.0 to One UI 4.0: Android 13 to Android 12Smart View not working on rooted Samsung: How to FixIntune Company Portal: Samsung Face Unlock not working [Fix]
About Chief Editor


