But why is that the case? Well, due to the plethora of benefits that it has to offer. First off, you would still be getting the MIUI experience, but in a more polished manner, bereft of unnecessary customizations and bloatware. Along the same lines, they edge out their counterpart in the performance domain as well: its fluidity and smoothness would be easily noticeable in the day to day usage. And most importantly, it doesn’t come with any ads. Combine all these factors, and you get an optimized and efficient performing ROM that is light on the system and hence consumes much battery either. Well, when a ROM has so much to offer, the reason for its rise to fame is hardly a secret. So on that note, let’s check out the steps to install the Xiaomi EU ROM on Redmi Note 9 and Note 9 Pro devices. Follow along.
How to Install Xiaomi EU ROM on Redmi Note 9/Note 9 Pro
The below instructions are listed under separate sections for ease of understanding. Make sure to follow in the exact same sequence as mentioned. Droidwin and its members wouldn’t be held responsible in case of a thermonuclear war, your alarm doesn’t wake you up, or if anything happens to your device and data by performing the below steps.
STEP 1: Install Android SDK
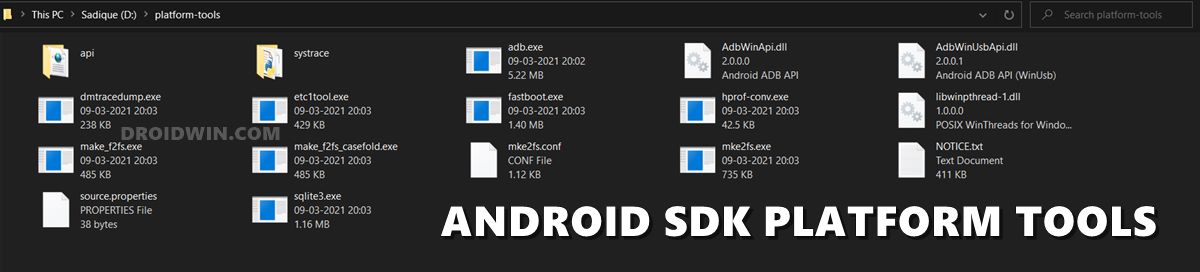
First and foremost, you will have to install the Android SDK Platform Tools on your PC. This is the official ADB and Fastboot binary provided by Google and is the only recommended one. So download it and then extract it to any convenient location on your PC. Doing so will give you the platform-tools folder, which will be used throughout this guide to flash the Xiaomi EU ROM onto Redmi Note 9 and Note 9 Pro.
STEP 2: Enable USB Debugging and OEM Unlocking
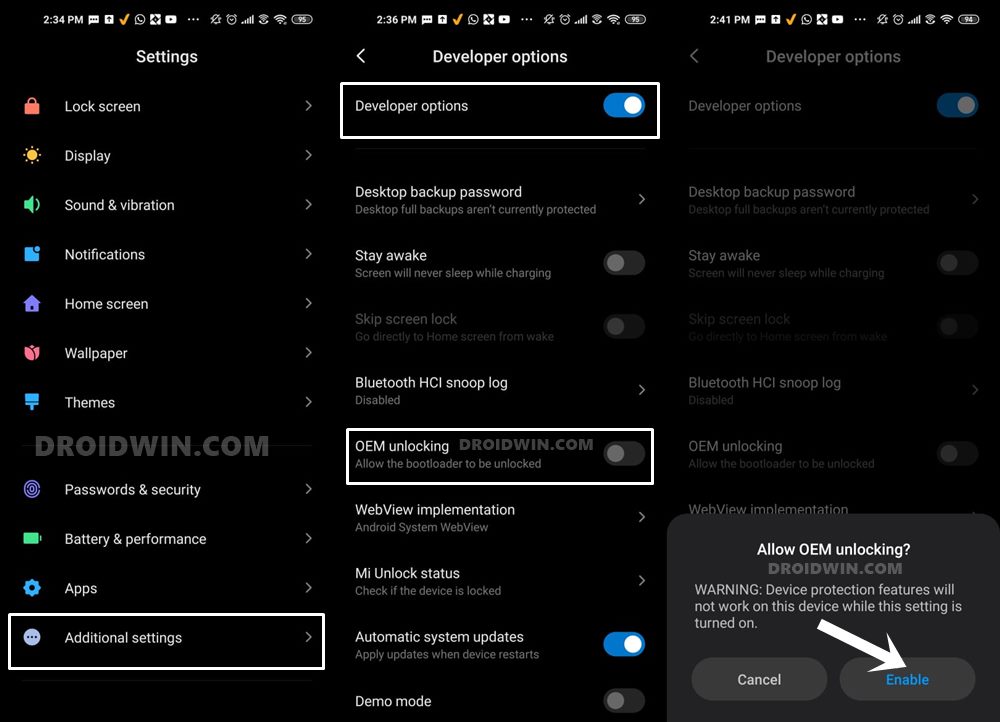
Next up, you will also have to enable USB Debugging and OEM Unlocking on your device. The former will make your device recognizable by the PC in ADB mode. This will then allow you to boot your device to Fastboot Mode. On the other hand, OEM Unlocking is required to carry out the bootloader unlocking process.
So head over to Settings > About Phone > Tap on Build Number 7 times > Go back to Settings > System > Advanced > Developer Options > Enable USB Debugging and OEM Unlocking.
STEP 3: Unlock Bootloader on Redmi Note 9/Note 9 Pro
Since this is an unofficial ROM (a custom ROM to be precise), you will need to unlock the device’s bootloader. However, doing so will wipe off all the data and could nullify the device’s warranty as well. So if that’s all well and good, then please refer to our guide on How to Unlock the Bootloader on any Xiaomi Device. Once that is done, you may move over to the next step to install the Xiaomi EU ROM onto the Redmi Note 9/Note 9 Pro devices.
STEP 4: Download Xiaomi.EU ROM for Redmi Note 9/Note 9 Pro
Next up, grab hold of the Xiaomi EU ROM for your device from the below links (stable builds are the recommended ones). I have uploaded the latest ones at the time of writing. Likewise, I have also attached the direct link through which you could manually check for the latest builds.
xiaomi.eu_multi_HMNote94G_HM9T_V12.0.20.0.QJQCNXM_v12-10.zip xiaomi.eu_multi_HMNote9Pro_HMNote9S_V12.0.4.0.RJWMIXM_v12-11.zip xiaomi.eu_multi_HMNote9ProEU_V12.0.4.0.RJZMIXM_v12-11.zip xiaomi.eu_multi_HMNote9Pro5G_MI10TLite_V12.5.3.0.RJSCNXM_v12-11.zip xiaomi.eu_multi_HMNote9ProMax_V12.0.1.0.RJXINXM_v12-11.zipCheck for Latest Builds
STEP 5: Install TWRP Recovery on Redmi Note 9/Note 9 Pro
You will need to have the TWRP Recovery installed in order to flash the Xiaomi EU ROM. So refer to our below guide to install the recovery onto your device:
How to Install TWRP Recovery on Redmi Note 9/Note 9 Pro
Once your device is booted to TWRP, it might be in the Chinese language. If that is the case, then you could refer to our guide on How to Change Language in TWRP Recovery.
STEP 6: Perform a Factory Reset via TWRP
STEP 7: Transfer ROM ZIP File to Device via TWRP
Once the format is complete, transfer the Xiaomi EU ROM to your device. This could be done via Mount, ADB Sideload, or USB OTG. You may also refer to our guide below guides for this purpose:
[3 METHODS] How To Transfer or Install Files via TWRP RecoveryHow to Use ADB Sideload in Android [Stock and TWRP Recovery]How to Use USB OTG or Pen Drive to Flash File via TWRP Recovery
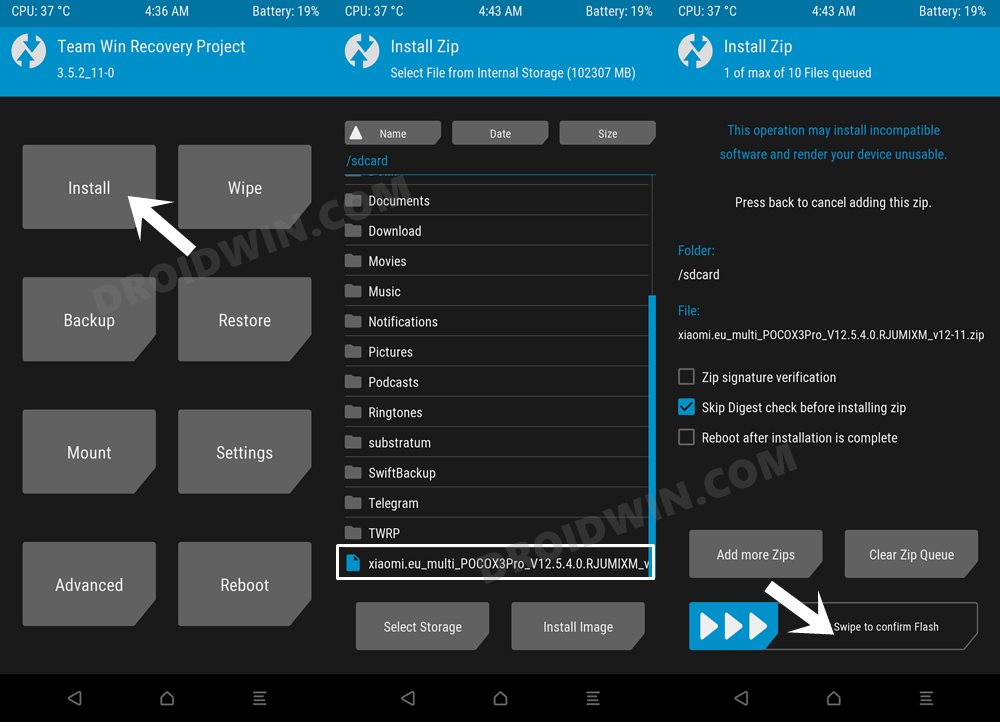
STEP 8: Install Xiaomi EU ROM on Redmi Note 9/Note 9 Pro via TWRP
That’s it. These were the steps to install the Xiaomi EU ROM on Redmi Note 9/Note 9 Pro. If you have any queries concerning the aforementioned steps, do let us know in the comments. We will get back to you with a solution at the earliest.
How to Flash Xiaomi Fastboot ROM without Mi Flash ToolHow to Install TWRP Recovery via Xiaomi ADB Fastboot ToolsUnbrick Redmi Note 9 Pro via Fastboot CommandsUnbrick Redmi Note 9 via Fastboot CommandsHow to Force 90Hz Refresh Rate on Xiaomi/Poco/Redmi Devices
About Chief Editor